Tips for avoiding punctures

Getting punctures is often a big discouragement for people taking up / continuing with cycling. Several years ago my parents bought some cheap hybrid bikes They had good intentions to start cycling. But, after one or two rides,  two tyres got punctures and they have been sitting in the garage ever since; I think the idea is that as the family cyclist I will sometime get round to mending the puncture. But, it hasn’t happened for a long time.

It’s a shame many beginners get put off by punctures because with a bit of preparation, you can make punctures a very rare experience. I blame cycle manufacturers who sell cheap hybrid bikes and put on cheap, useless tyres which are more likely to puncture. I’m sure everybody who buys a bike would prefer to pay an extra £20 to get puncture resistance tyres, but in the pursuit of cheaper bikes, we end up buying cheap tyres – which puncture and then we get put off cycling.

The quick check list for avoiding punctures

  1. Buy the best, puncture resistant tyres.
  2. When replacing an inner tube, be careful to put it on properly. Use fingers not tyre levers (avoid getting inner tube caught between rim and tyre)
  3. Replace worn tyres.
  4. Keep tyres at recommended psi (if too low, they are more likely to get pinch flat)
  5. Avoid the grittiest part of the road, where punctures are more likely.

1. Puncture Resistant tyres

If you buy a road bike / hybrid bike, there are some excellent tyres, which have very strong puncture resistance. This is the best investment and upgrade you can make to any bike. Unless you are racing, don’t worry about the extra weight. You won’t really notice it for a commute into town, but you will appreciate the reduction in punctures.
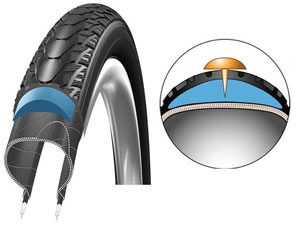
schwalbe-marathon-plus
Schwalbe Marathon a good barrier to punctures.

On a commuting bike, I would suggest something like  an Armadillo Specialized All Condition (Armadillo Tyres at Wiggle) or Schwalbe Durano / Marathon

Both tyres are very puncture resistant. I’ve averaged a puncture more than every 3,000 miles using these tyres. They are very rare.

For summer training, racing, I might choose a lighter tyre, with less puncture resistance, but still pretty good. On a training bike, I often use Continental Dura Skin or Continental Grand Prix. You can see reviews of good road tyres here.

Unfortunately, at the moment it is hard to get completely puncture resistant tyres for road bikes. For some bikes you can get solid tyres, which offer a puncture resistant ride, but I wouldn’t want to ride them. When racing I always choose a tyre with good layers of puncture resistance, at least 1 or 2 kevlar belts. For training and even racing, I would rather choose a slightly heavier tyre and have an improved chance of avoiding a puncture. Only on very short hill climbs, will I risk the lightest tubulars.

Good Tubular puncture resistance
stone

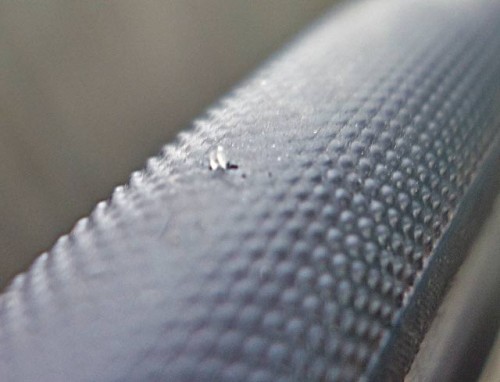
If you ride tubulars, a good puncture resistant tubular is Continental Competition (not the fastest) but pretty hardy. This is my Continental competition, I plucked out a sharp piece of glass from the rubber – no puncture. But most other tubs would have punctured because it’s quite big piece of glass.

2. Avoid the grit at the side of the road

Often on busy roads grit and debris accumulate on the side of the road;  riding amongst all this grit definitely increases the chance of getting a puncture. Don’t feel pushed into the edge, keep an eye on the road surface and avoid potential problems. (BTW, there is a post here – don’t ride in the gutter, but give yourself a good distance from the edge. This gives you room for manoeuvre when avoiding potholes and thorns.)

Also, it’s important to look out for potholes, if you ride over a pothole, you can puncture or even worse come off and break your wheel.

Also, there have been times, when I’ve got off and walked by a newly cut thorn hedge which the farmer has kindly left on the road.

3. Put on the tyre properly – avoid pinch punctures

The biggest cause of ‘repeat punctures’ is putting on a tyre with tyre levers. This invariably causes a pinching of the inner tube between rim and tyre. To avoid this, it is important to always put a tyre back on with your hands.

This video is good.

One thing I would add is after replacing inner tube and tyre, blow up to 20psi and then go around both sides of the tyre to check you can’t see any inner tube caught between rim and tyre. If it is, make sure you get rid of this, as it will cause a pinch puncture. This is especially important if you used tyre levers.


If you want a really amateur video about putting on a tyre. In the days of a full head of hair, and steel time trial bikes. (it only weighed 6kg!)

4. Tubeless and self-fixing slime

Another option is to go tubeless. Tubeless avoids pinch punctures. Also, you can put self-healing slime into a tubeless, so if you do puncture, the slime should automatically seal the puncture, and avoid 99% of punctures. I’ve gone tubeless on one rear tyre.

5. Correct tyre pressure

At a low tyre pressure, you are more likely to get pinch punctures. This is why mountain bikers are much more likely to use tubeless. By running tubeless, they can run low psi of 30ps – 40psi – without worrying about getting a pinch puncture (inner tube stuck between tyre and rim). If you run ordinary inner tubes and tyres and keep a low psi, you may end up with a pinch puncture.

6. Use new inner tubes

I never use a puncture repair kit. I just buy inner tubes in bulk. At least a failed puncture repair is one less thing to worry about.

8. Check tyres for wear / scratches and embedded grit
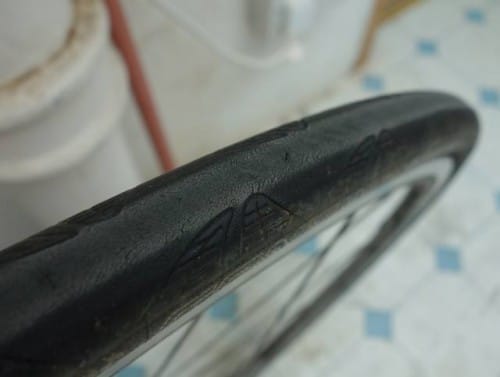
continental-4000-worn-down-2
I frequently check tyres for wear. I prefer to replace at early signs of wear. I have seen some riders wear tyres down so much, you can actually see the outer layer is completely gone! This Continental GP 4000 has been worn down by riding on rollers. I could get more miles out of it, but, it’s done a good few thousand, so I’d rather replace now.
continental-tubular-stone-in-tyre

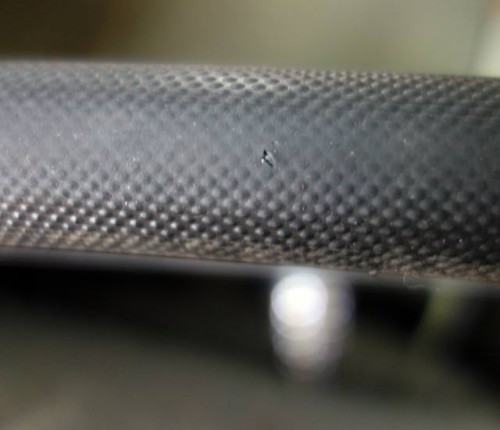
Another good thing to do is to check for pieces of glass that have got embedded in the tyre. I will use a sharp point (nail or safety pin) and flick the grit out. (watch out for your eyes). This prevents the grit getting pushed further into the tyre and causing a puncture at a later date. I usually tolerate one or two scratches in a tyre, but, when they start to look deep or prevalent, I chuck the tyre out. Better to replace too early and avoid that puncture!

9. Make sure there is rim tape on the wheel.

I’ve had two punctures because the rim tape slipped off the centre of the wheel; this meant the inner tube was in direct contact with metal rim, and this caused a puncture because the metal rim can have sharp edges.

10. Tubulars over inner tubes and tyres

The advantage of tubulars is that they are less likely to suffer from a ‘pinch puncture’. But, overall it really depends on the quality of the tubular. For racing, I use tubulars, not so much for better puncture resistance, but they are lighter. However, when you do puncture it is more expensive. So road tyres and inner tubes are better for training.

11. Never blog about how you never get punctures

I once blogged about not getting punctures and preceded to get 5 punctures in a week. But, sometimes you can go a long time without puncturing.

12. Avoid riding in the rain

People often find that riding in the rain causes an increased chance of puncture. I think this may be due to the fact that the water reduces friction and makes it easier for grit to penetrate the tyre. I guess nobody would choose to ride in the rain unless they can avoid it. But, be prepared for higher risk of puncture if it is wet.

13. Ride a solid wheel

You can now get solid tyres which are 100% puncture-proof. They are a bit slower but will last a long time. No air, so no puncture a Korean Company Tannus is manufacturing them. It will be interesting to see if they catch on.

Related

Lifeline Professional Workstand – Review

bike-work-stand-tt-bike

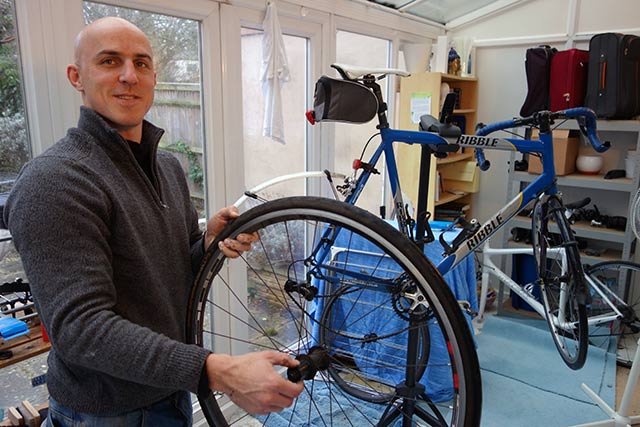
After years of prevaricating, I got around to buying a Workstand to be able to work on my bike. I was reluctant to buy a work stand because:

  • I’m not very good at bike maintenance and tend to prefer to take it into bike shops. I was reluctant to purchase when with many jobs it’s easier to take into a shop.
  • I don’t have much space in my conservatory. I have so many bikes, there isn’t really room for a work stand.

On the other hand, I thought buying a workstand may have the following benefits:

  • It may make me better at bike maintenance – it’s hard enough adjusting gears without using one hand to hold bike up and the other hand to adjust gears.
  • It’s inconvenient having to take bike to a bikeshop all the time.
  • It might make it easier to clean the bike.

After looking online at different options, I choose the Lifeline Professional Workstand from Wiggle.  It had the following advantages

  • At £72 it seemed quite cheap. I didn’t want to get a higher end workstand, when I wasn’t sure how much I would use it.
  • It could be folded up quite small and conveniently put away in a corner.
  • It had reasonably good reviews.

How to set up

To set up, it was fairly quick and intuitive, there are a couple of quick release levers which can quite quickly move the stand from compact to set up.

bike-stand-closed

Quite easy to set up.

Read more

Bike maintenance – Checking headset

headset

My early spring bike service and headset maintenance – what to look out for and how to fix problems.

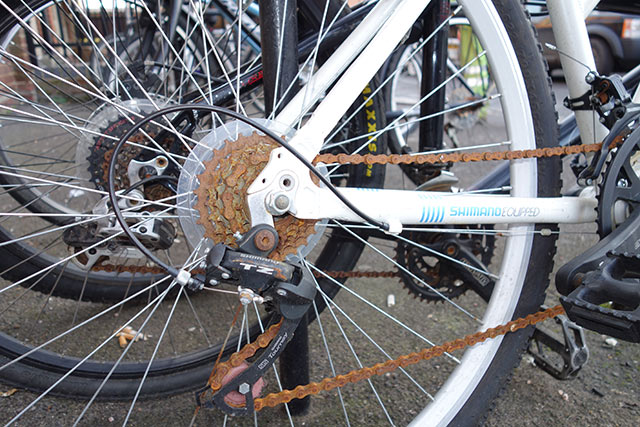
There has been a lot of salty water on the roads this winter. It’s not been the coldest winter, but it has been dipping below freezing enough for the roads to be salted and then wet. The result is bikes ridden through the winter will have taken a battering. Everywhere in Oxford I see rusty chains – a sure sign of riding through winter salted roads. I keep using TF2 chain lube, but even regular squirts can’t stop minor rusting.

rusty-chain-white-bike

Ideally, I would leave a bike service for another month (when hopefully the salting of the roads would finish), but the commuting bike has been driven into the ground so it was time to get another service from Sherwood Mobile Bike Mechanics.

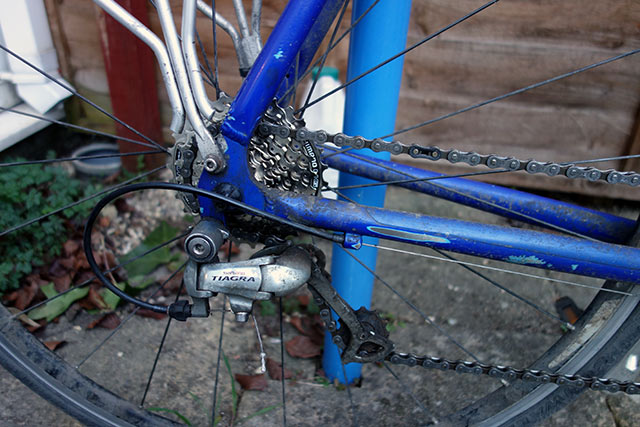
I bought a new chain and cassette for Andy to put on. I thought the brake cable had gone, but actually it was the rear brake frozen up, due to rust. Andy cleaned the brake and regreased and changed the most worn components.

I’m not too fussy about the commuting bike, but Andy felt the headset needed attention. I haven’t pain any attention to headset maintenance and have never really understood headsets – so I got Andy to write his tips for headset wear towards the end of the post. In the end it was quite a lengthy service, but that is inevitable when you cycle on it so much during the winter.

new-cassette-commuting-bike
After the service the bike runs like a completely different bike!


I keep a tight chain because I have a single ring and no front mech to stop chain dropping off.

Read more

Oxford mobile cycle repair – Sherwood Cycles

A good cycling friend – Andy Sherwood has set up a new business – Sherwood Cycles It is aimed at offering mobile bike repairs throughout Oxfordshire and surrounding areas.

sherwood-2
Andy Sherwood – experienced bike mechanic

I’ve known Andy for quite few years, we did a few hill climbs together back in 2004/05.  Sherwood is not a bad cyclist himself, and did two 24 hour time trials, reaching 400 miles plus in both.

With seven bikes, I’m a big customer of bike repair services. My training and commuting bikes need fairly regular simple maintenance (cables/ cassettes / chains) My racing bikes are also a real pain – regularly needing tricky servicing. This is especially true since my latest Trek Speed Concept is now Dura Ace Di2 11 speed. I have 8sp, 9sp, 10sp and 11sp bikes. Wonderful compatibility problems.  Especially, when you are trying to fit a Quark Power meter.

Read more

Bike maintenance tips

Firstly,  there’s an excellent article from Bike Radar here – top 10 bike maintenance dont’s

The advice may sound obvious. But I’ve been guilty of most of them over the years. If you speak to anyone who works in a bike shop, you will learn never to take it for granted that people know how to do the obvious – like blow up tyres.

The most important tips of bike maintenance I’ve learnt from bitter experience

  • Learn how to repair a puncture without getting a pinch flat. (use hands, not tyre levers. After putting on, go all the way around both sides of rim to make sure no inner tube is stuck between rim and tyre.) Alternatively – go tubeless
  • There’s no shame in taking your bike to a bike shop. Something like wheel truing is a fairly rare job. You’re better off taking it to an expert rather than trying to do it yourself.
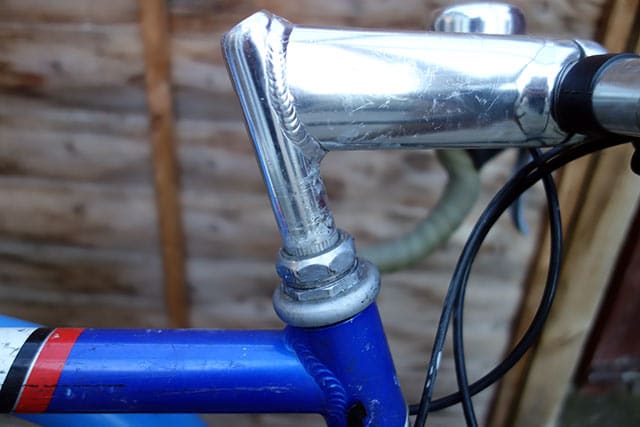
  • If you take your bike on a plane and have to redo stem and handlebars, make sure you learn how to tighten the headset. In the words of Bike Radar ‘Never tighten the top cap without loosening the stem bolts’
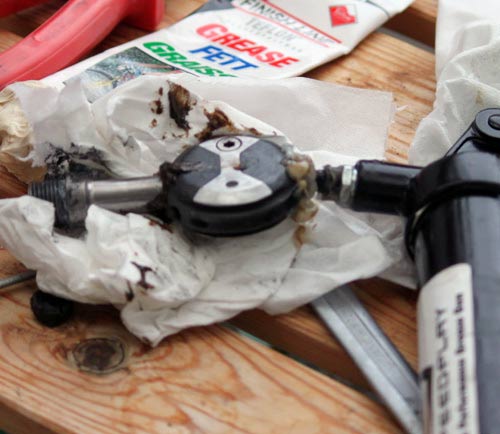
  • After rain, speedplay pedals need greasing like mad – unless you want to keep forking out £200 for a new pair.
  • For a bike you race on, it is worth changing chain every 1,000 miles to get better efficiency and make expensive cassettes last a longer time.
  • Never rush bike maintenance. You will pay for it in the long term. Take your time, use the proper tools. Don’t work at awkward angles which will round the screws. Avoid disasters like this stem fitting

Confessions of an amateur bike mechanic

grease-speedplay

You wish there was some kind of natural law which meant that when you increase your cycle fitness, automatically your mechanical competence increased in equal measure. You feel that if you can cycle 50 miles in under two hours the gods of cycling should, at least, give you the capacity to change a tubular or adjust a gear without losing the will to live and contemplating becoming a cross country runner just to avoid bike maintenance.

But, alas, life is not so straightforward; not only do we cyclists have to train through wind, rain and sleet,  but we also have to learn the intricacies and challenges of bike maintenance. Give me a 20% hill and I’ll cycle up it all day long, but give me a Shimano Dura Ace 10 speed group set and, for the life of me, I will never be able to remember whether tightening up the front chainring position is anti-clockwise or clockwise.

Instead, I will mindlessly keep turning the screw in all different directions until by a random chance of fate, it nearly aligns like I want it to. This is assuming I haven’t given up and taken it to a bike shop.

Over the past 20 years of cycling, I’ve become a reasonable descender, a competent timetriallist, and a pretty good hill climber. But, whilst my cycling capacity has risen from rank beginner to good amateur, my bike maintenance capacity is still languishing in the ‘might be able to manage 10 miles, if the weather is nice’ kind of category. (i.e. he can change a puncture, so long as the tyre is sufficiently pliant and malleable.)

Nevertheless, despite years of frustration, broken allen keys and gear shifters which resolutely fail to shift, I still have some wisdom to pass onto those who find themselves in a similar situation.

  • Your best bet is usually to take it to a bike shop who know what they are doing. You will save yourself time, money and you won’t have a large dint in your carbon fibre frame because you hit it with a spanner in frustration. Now, this is not exactly scintillating advice – but, it’s always been my great saviour. No matter what you start you know that when you fail to finish it, you can always take down to bike shop. In 20 years of having my bike repaired, only once have I felt bike repair was expensive; often it’s embarrassingly cheap – at least compared to motor car maintenance, which seem to have a £50 minimum charge just for turning up at the garage. Here, I will give a shout out to Reg Taylor Cycles on Iffley Road – they have been doing a good job for 10 years.

Read more