I’ve accumulated quite a few leg warmers over the past 10 years. This is a review of the different models I’ve been using.
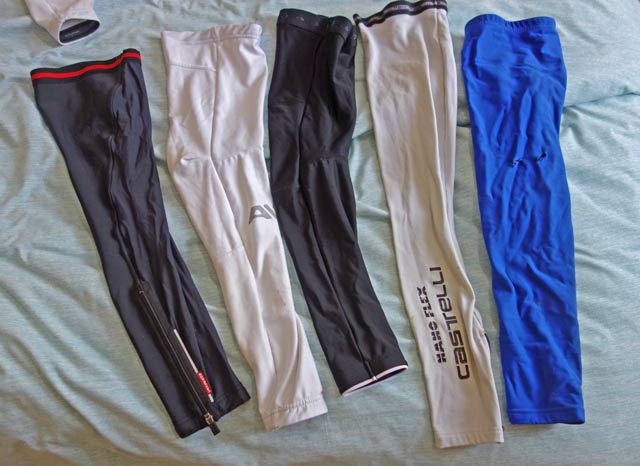
From left to right
- Specialized
- Altura ergofit
- DHB Vaeon Roubaix
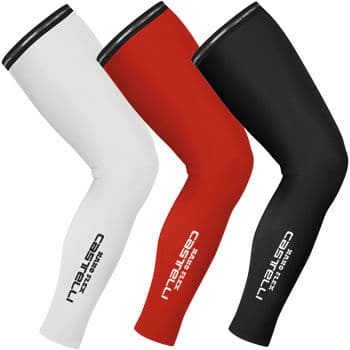
- Castelli nanoflex
- Blue ‘prorace’ – discontinued.
Not featured here, I’ve also tried on some Impsport custom legwarmers.
Features I look for in leg warmers:
- Not too tight so when cycling you don’t feel they are restricting your movement.
- Stay in position, don’t roll down your leg
- Warm. – different degrees of warmth depending on conditions. I like to have a thin pair, and a warmer pair.
- Zip is useful for taking off over cycling shoes
To a large degree, some of these features need picking the right size as much as the individual brand.
Specialized
I like the Specialized leg warmer because it has a soft and flexible fabric. When you put it on, it doesn’t appear too tight. They are also quite thin, which makes it good for those times when it’s warming up, but not quite ready for shorts.
I have size L. It is prone to slip down, but if you put it underneath a pair of shorts, then it stays fine. Because it is thin, it dries pretty quick.
I’ve had it for over 5 years and has lasted well. Simple, but effective. They seem to have discontinued this model, which is a shame because it has been a very good product. The new Specialized leg warmer is called the Specialized EZ, I haven’t tried it, and unfortunately, it’s a bit more expensive (up from £32 to £40). Specialized EZ at Evans
Altura Ergofit
 This was one of the most expensive leg warmer. The idea is that it comes pre-cut in the shape of a leg. It doesn’t lie flat, but has the bend built into the knee. The idea is that anatomically designed for your leg, it stays in place whilst offering greater freedom of movement.
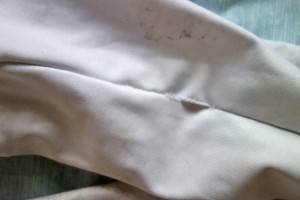
Initially I ordered a size L, but this proved too big for me. It wouldn’t stay up and was very long. I sent it back and got a size M. This definitely stayed up, but it was a real struggle to get the leg on. The end of the leg warmer is stiff and small, to get it over your foot you have to take off your socks and really give it a good yank. Also, after a few weeks, I developed a hole in the stitching. The leg warmer felt quite tight when riding.
This has been the most disappointing leg warmer, because it isn’t comfortable and is difficult to get on, causing the stitching to come loose. It may just be unlucky with the sizing, but large felt too big, and medium felt too small. It seems a good idea to have an anatomical fit for the shape of the leg, but somehow it didn’t work for me. If you look at other reviews, other people are more positive, so you might have a different experience.
- Altura Ergofit at Wiggle